HO Scale Model Deck Barge Build Instructions
Inspired by a recent Model Railroader magazine article I decided to try and build a hopper barge and and got sidetracked on this deck barge. I chose to use card stock but polystyrene, matte board, or other products could also be used.
I started by using Elmer's Glue All to laminate 4 pieces of letter sizes card stock together to get the stiffness I wanted which is about 0.04".
Tools & Materials
- Building material options: 4 sheets of card stock, polystyrene sheets, or matte board.
- Glue: Aleene's® Tacky Glue, Elmer's® Glue All®, Thin Super Glue (CA)
- Sharp knife or scissors
- Printout of plans or ruler
- Details:
- Cleats (6+). I put 3 on each side but I've also seen an additional 1 on each end.
- Bit Bollards (4)
- Tire bumpers (about 60)
- Sealer such as Matte Medium or Enamel Clear matte finish.
- Paint
- Weathering materials
Build Steps
- Build Material:
- Print out the provided template (PDF) and laminate with 4 sheets of card stock. Or whatever thickness seems appropriate. Make sure to print at 100%. It is fine if the edges get cut off.
- Or mark pieces with dimensions listed in step 2.
- Cut out all pieces along the solid lines.
- Deck 4.25 x 11"
- Sides 1" x 11"
- Center support 0.5" x 11"
- Bow 1.75" x 4.25" with score line at 0.25".
- Stern 1.75" x 4.25" with score line at 0.25".
- Supports 6 at 2.25 x 0.25". This will need to be trimmed to length.
- Score pieces (deck, bow and stern) along the dashed lines. (Dotted lines will be glue lines).
- Score the line between Side A and the Deck enough that you can fold it back at the 90 degree angle. Sand or file the edge at a 45 degree angle so that when you fold it back the other way it doesn't bind.
- Repeat step 2 for Side B.
- Cut the middle support and glue it along the dashed middle support line. Use a 90 degree block to make sure that it is vertical and weights to make sure that the deck is flat.
- Bend the sides up and put a bead of glue along the bend.
- Trim the support pieces and glue in place along the dashed lines and ends.
- Score and bend the bow and stern to fit. Some trimming might be required. Glue the bow and stern.
- Once completely dry spray the entire model with the clear matte finish to seal from moisture.
- Paint it our desired color.
- I added tick marks on the ends to indicate how much of the barge is submerged.
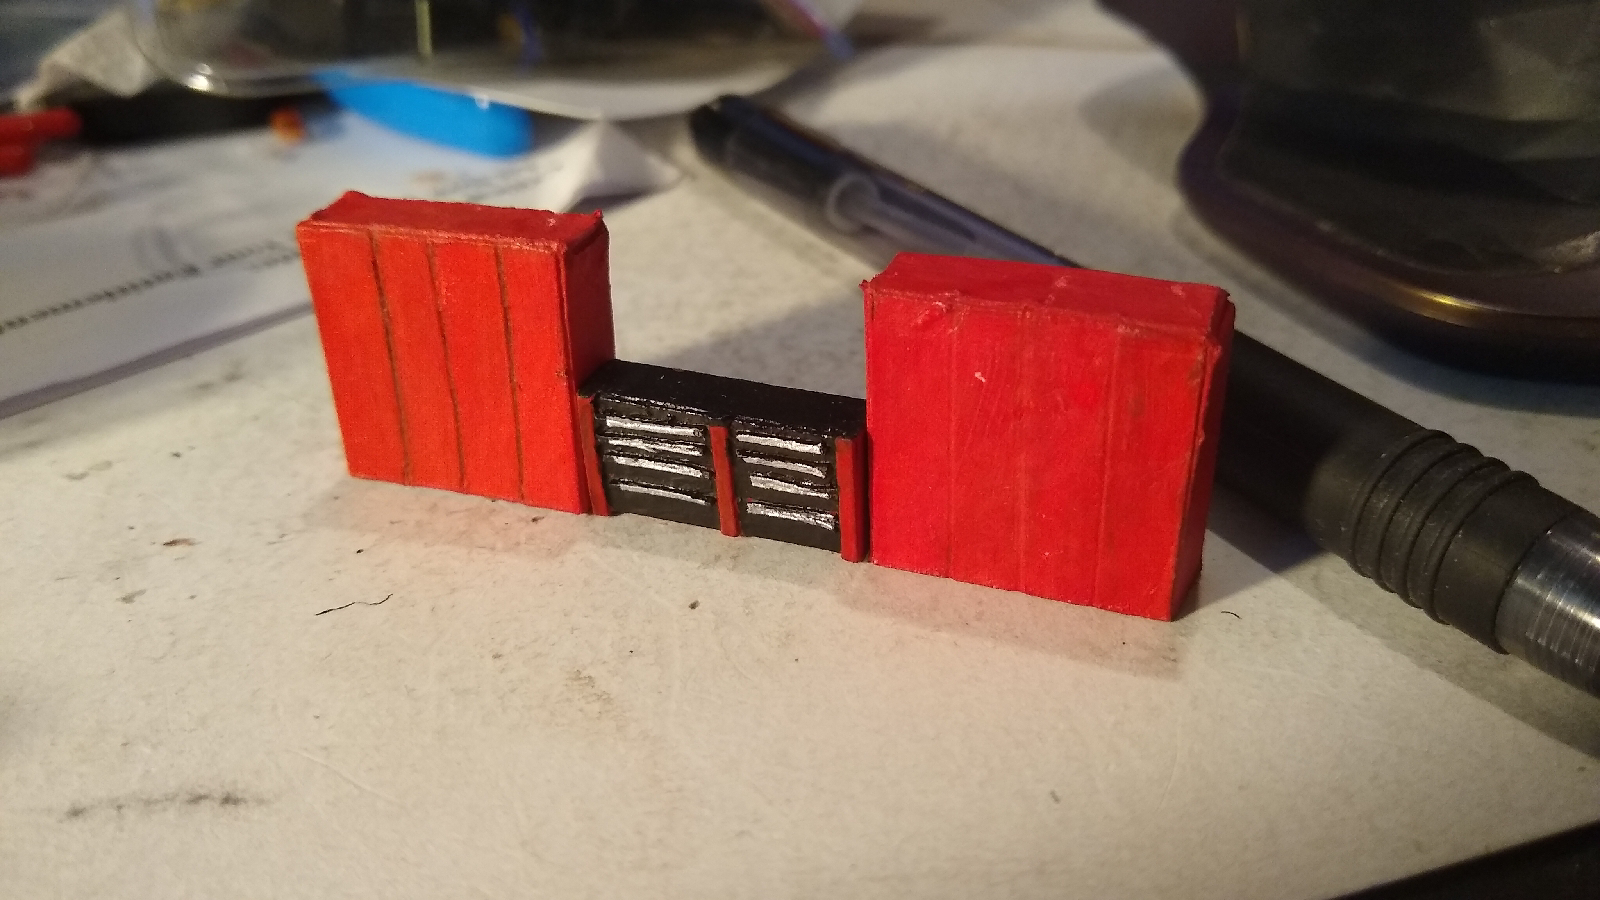
- Add details such as cleats, bit bollards, and tire bumpers.
- Weather
Weathering
I painted with a sample of latex paint from the local hardware store. It left the model sticky so I sprayed with a clear coat first. Next I added a dirty wash followed by dry brushing burnt umber and burnt sienna for rust. Making sure to brush downward on the sides and leave dark spots. Next I added some pan pastels to help blend things together. I glued the bumper tires after weathering.


Comments
Post a Comment