Posts

HO Scale Model Deck Barge Build Instructions

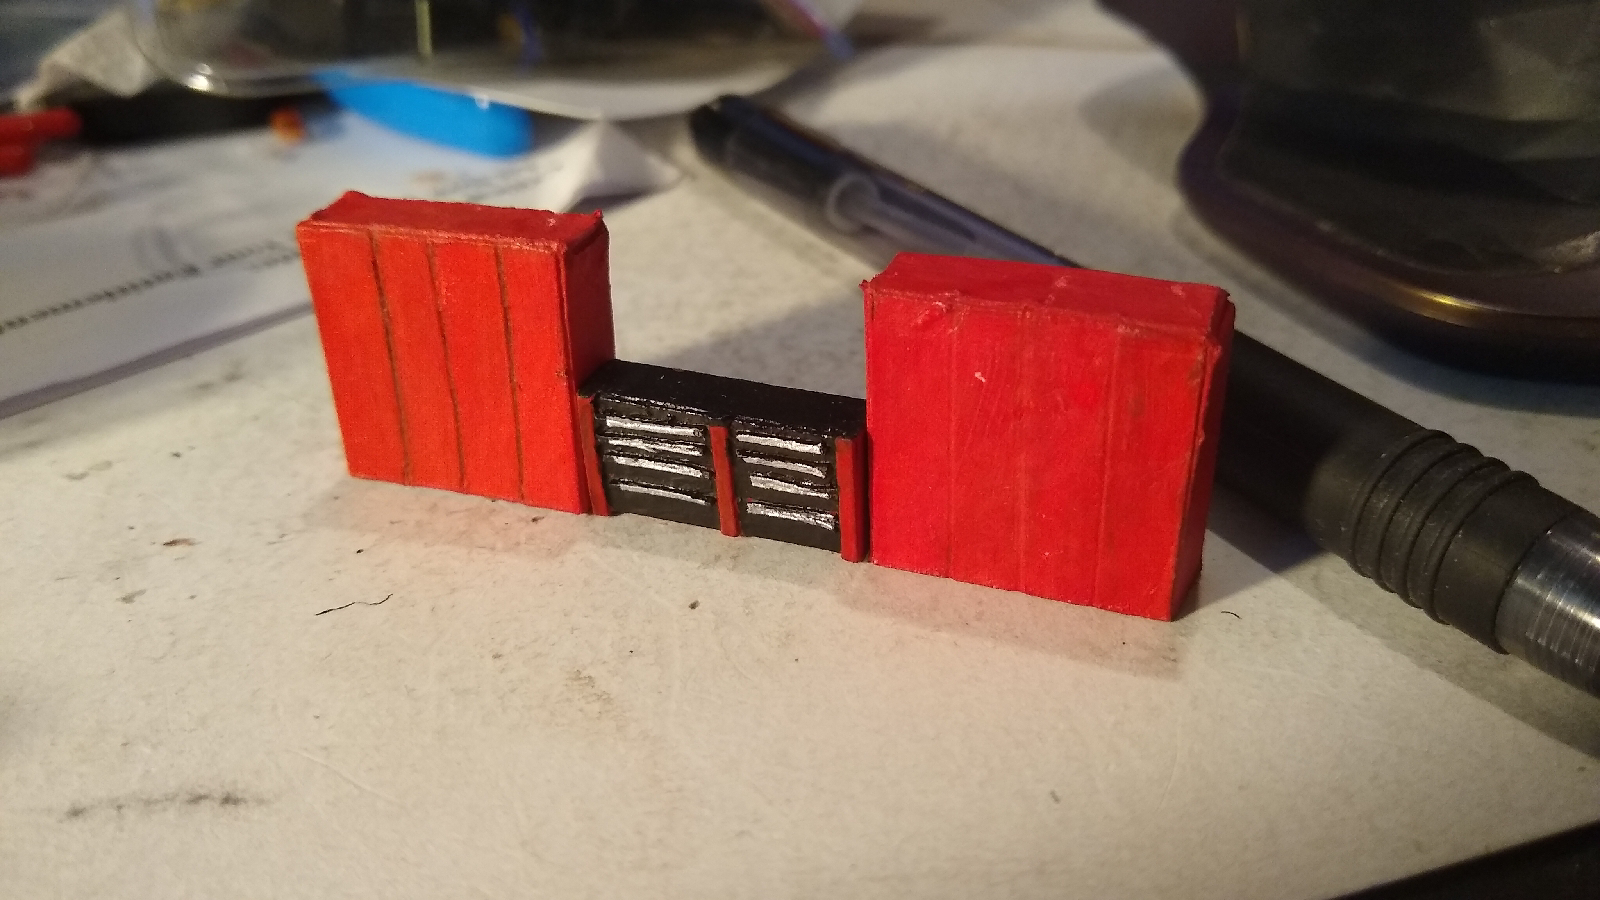
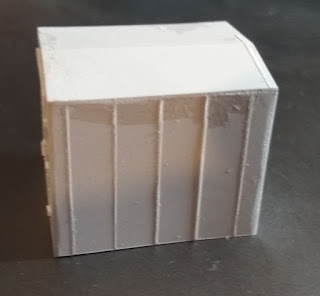
Inspired by a recent Model Railroader magazine article I decided to try and build a hopper barge and and got sidetracked on this deck barge. I chose to use card stock but polystyrene, matte board, or other products could also be used. I started by using Elmer's Glue All to laminate 4 pieces of letter sizes card stock together to get the stiffness I wanted which is about 0.04".  Tools & Materials Building material options: 4 sheets of card stock, polystyrene sheets, or matte board.  Glue: Aleene's® Tacky Glue, Elmer's® Glue All®, Thin Super Glue (CA) Sharp knife or scissors Printout of plans or ruler Details:  Cleats (6+). I put 3 on each side but I've also seen an additional 1 on each end.  Bit Bollards (4) Tire bumpers (about 60) Sealer such as Matte Medium or Enamel Clear matte finish. Paint Weathering materials Build Steps Build Material: Print out the provided template ( PDF )  and laminate with 4 sheets of card stock. Or whatever thickness seems appropriat

Billboard

Image
Billboards are common in many places, sizes, and era's  In this article I'll walk you through creating an older style wooden billboard from a styrene For Sale sign.  The size of our billboard will be 12'x24'. Pieces Cut the following pieces. Dimensions are given in scale feet/inches. 1@ 12' x 24' - billboard 2 @ 2" x 6" x 24' - trim 2 @ 2" x 6" x 12' - trim 4 @ 2" x 6" x 23' - sign backing 1 @ 2" x 6" x 23' - lateral brace 8@ 2" x 8" x 9' - platform support 8@ 2" x 6" x 23' - braces 8@ 2" x 6" x 24' - uprights 3@ 2"x 8" x 24' - planks Directions Glue pairs of 2" x 6" x 23' braces together to make 4 braces.  Glue pairs of 2" x 6" x 24' uprights together to make 4 uprights. Glue the 2" x 6" x 24' and 2" x 6" x 12' pieces around the edge of the billboard. Some will need trimmed to length. Evenly spa

DCC Speed Matching Assistant Scratch Build

Image
This project was inspired by some discussion over at  https://modelrailroadforums.com/forum/index.php?threads/speed-matching-locomotives.35010/#post-543957 Overview:  Create a simple car that can be attached to any locomotive and used to obtain speed matching data. Arduino based with no need for a computer attached but possibility to integrate with DCC possibly through I2C. Speed = Distance / Time Parts: Hopefully you will already have a lot of these parts.  9" straight section of Bachman EZ Track or similar. + enough track to get the engine to the desired speed. Arduino Uno/Nano 1306 LCD Screen (128x32 pixels). Train throttle (DC or DCC) Train engine Car:  Styrene sheet. I used a "For Sale" sign (Lowes) with a 0.015" thickness 3/32" (2.4mm) round styrene tube Evergreen Scale Models #223 1/8" (3.2mm) round styrene tube Evergreen Scale Models #224 5/32" (4.0mm) round styrene tube Evergreen Scale Models #225 3/16" 4.8mm) round styrene tube Evergree

Equipment Cabinet

Image
 I had been looking around for dimensions to make an equipment cabinet and finally found some here ( https://www.railroadsignals.us/support/auxequip/index.htm ) The dimensions of the shed are 8' by 10'. Each of the center side panels are 2' so this should scale pretty easy to different sizes. I used OpenSCAD to generate SVG & DXF files for each of the pieces and then imported the DXF file into Silhouette Studio. Next I place a 15x19 For Sale sign on the cutting mat. The 15x19 sign has a thickness of 0.025" Next I used Plastruct Plastic Weld to glue the end to a side. Note the sides go inside the ends so that the roof will match the sides when it is glued. Make bottoms are flush. The top will need filed a small amount to give the right angle. This is by design so that it will get a good glue joint.  For the roof bend the styrene partially on the roof line but don't completely separate it. This will make it easier to glue the roof. Once the roof is secured place

Engine House

 I'm contemplating making a small switching layout (or this may end up on my Vine and Branches Layout) and thought it would be nice to have a small engine house to park the engine and keep it out of the weather. The Pike's Stuff Small Engine House  was tempting but larger than I wanted and I wanted to scratch build and practice my styrene techniques.  Here are the self imposed build parameters I'm working within Build from one 15x19 For Sale sign House a Walthers Plymouth ML-8 or BLI Plymouth W-Series 35-Ton Switcher I've been very tempted to add 3D printed detail parts but I want to make something that others can replicate. If there is enough interest I may build another version that is detailed out with my SLA 3d printer.  I started by using the basic size of the Pike's Stuff small engine house as a guide and then went from there. The size is 30'x60' feet which I thought was a little long for my needs so I went 30'x41'. After cutting out the walls

EMD SW1200, Plymouth W-Series 35-ton, & Plymouth ML-8 Switcher Comparison

Note: This post is currently a work in progress. I recently acquired the following engines and thought it would be helpful to review them for anyone else looking into getting one of these switchers for their layout.  First they are significantly different from each other in price and quality.  Great Northern EMD SW1200 by Rapido is a great little engine. I got the version that came with DCC and sounds.  The Undecorated Walther's ML-8 has had 2 runs and is not currently in production but if you dig around enough online you might be lucky enough to find one. I was able to find two 1 DC and the other DCC.  The Broadway Limited Imports Plymouth W-series 35-ton switcher is currently available in DC/DCC.  Broadway Limited Imports Plymouth W-series 35-ton switcher My only complaint about the three is that the BLI Plymouth Switcher's couplers are to floppy, that is have to much play in the vertical direction which effects how well it pulls something heavy. The DCC features include cont